What you can do
- Read supported account data: chatbot details, agents, source metadata and tags, conversations, leads, bookings, and escalations.
- Write (with approval): supported FAQ creation, source renaming, source-tag management, and selected writing workflows. Write actions are permission-scoped and approval-protected — nothing changes in your account without the connected user’s authorization.
See Chatsistant Serve the Customer, Then See ChatGPT Work With Chatsistant
Try the interactive two-sided demo on chatsistant.com.
Connect Chatsistant in ChatGPT
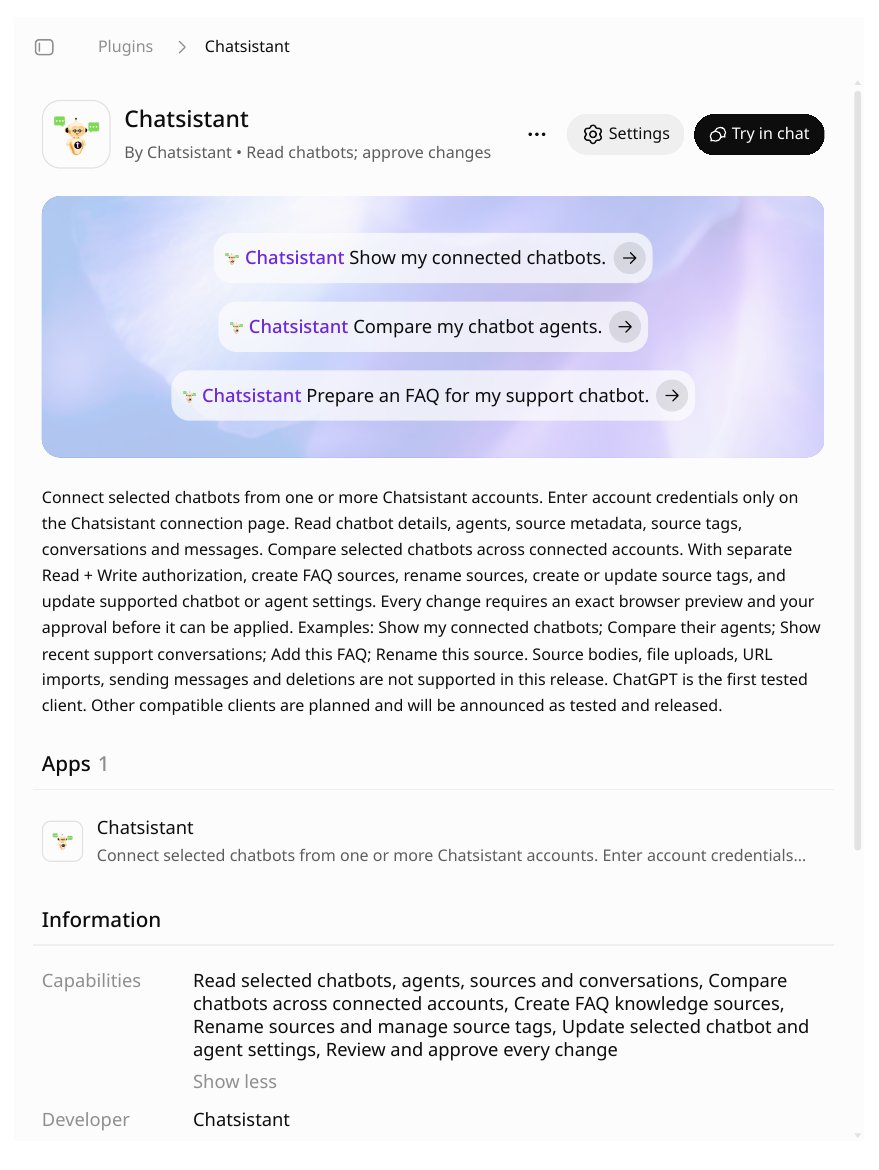
- Open the Chatsistant plugin in ChatGPT: https://chatgpt.com/plugins/plugin_asdk_app_6acf0de6ec8c81919ed9bed49a7a705e
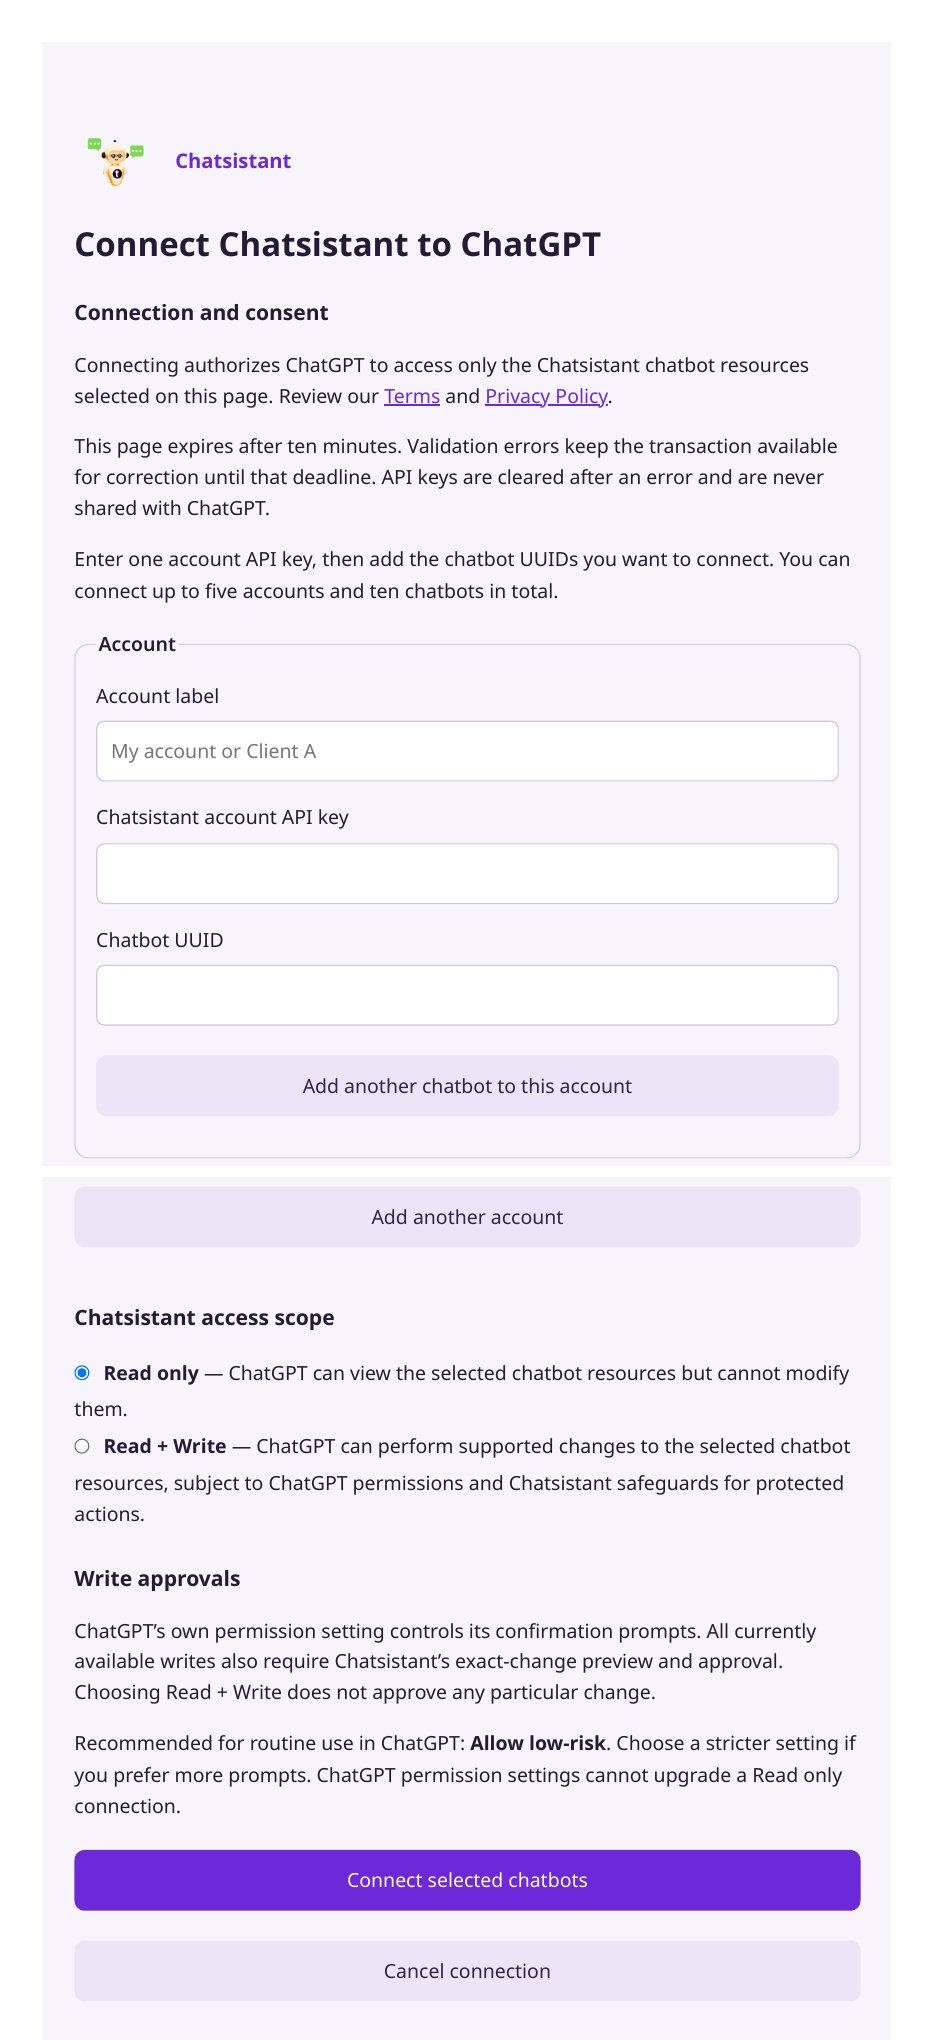
- Choose Read Only or Read + Write access.
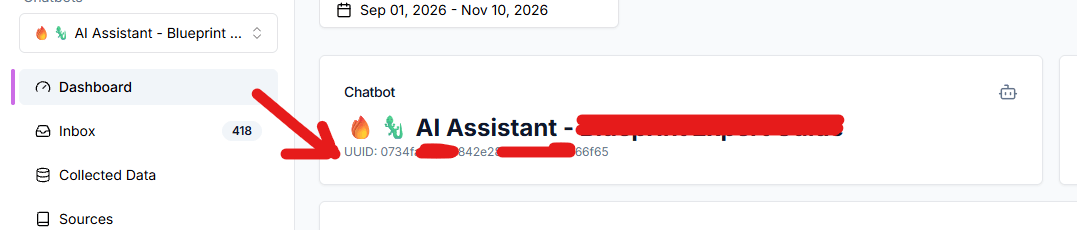
- On the Chatsistant connection page, enter an account label, your Chatsistant account API key, and the UUIDs of the chatbots you want to connect (you can connect up to five accounts and ten chatbots in total). Your API key is created in your Chatsistant account (see “Getting a Chatsistant API Key” in the API References section of these docs), and each chatbot’s UUID is shown under the chatbot’s name on its Dashboard — click the UUID to copy it.
- Start asking ChatGPT about your chatbots, sources, conversations, leads, and bookings.